A pergola is more than just an outdoor structure—it’s an investment in your home, your lifestyle, and the way you enjoy your backyard. Whether it’s creating a shaded retreat by the pool, defining an elegant entertaining space, or simply adding beauty and value to your home, choosing the right installer is one of the most important steps in bringing your pergola project to life.
At Heartland Pergolas, we’ve found that half of our customers prefer to have their pergola professionally installed. The good news is that our pergola kits are designed to make that process seamless—for both the homeowner and the contractor. Here are a few helpful tips to keep in mind when selecting an installer:
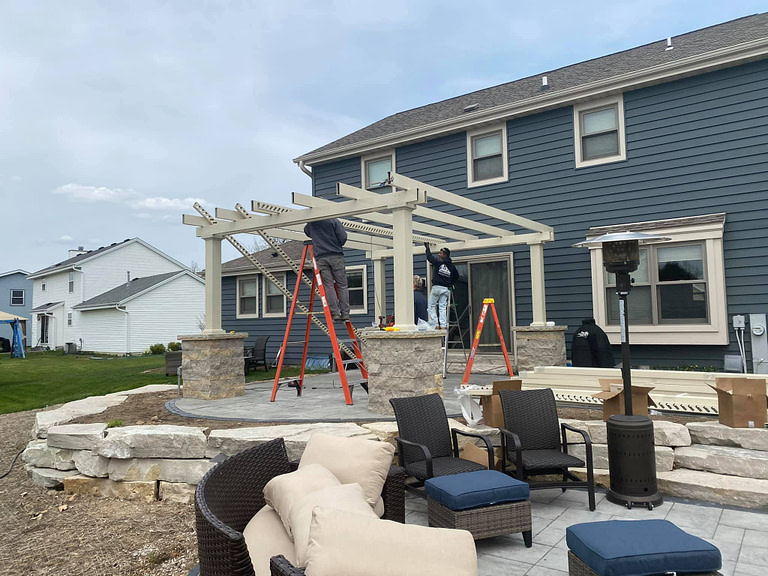
Not all contractors are the same. The best pergola installations often come from professionals who specialize in outdoor spaces—such as landscapers, hardscapers, or deck builders. These experts already understand site preparation, anchoring, and finishing details that can make your pergola look like it has always belonged in your yard. Our custom pergolas are designed to adapt to any backyard layout, but an outdoor expert will have the experience to craft any complex customizations. Plus they may help design and integrate your pergola with other backyard features like stonework, outdoor kitchens, lighting and more. Their expertise in all things outdoor design can ensure a project that is well thought out and successfully executed.
If your project is not as intensive, merely just erecting your patio cover over an existing deck or patio, you may be able to rely on a well experience outdoor handyman. Understanding of the anchoring needs of your pergola and comfort around some basic tools like drills and saws can be enough to have a successful pergola build.
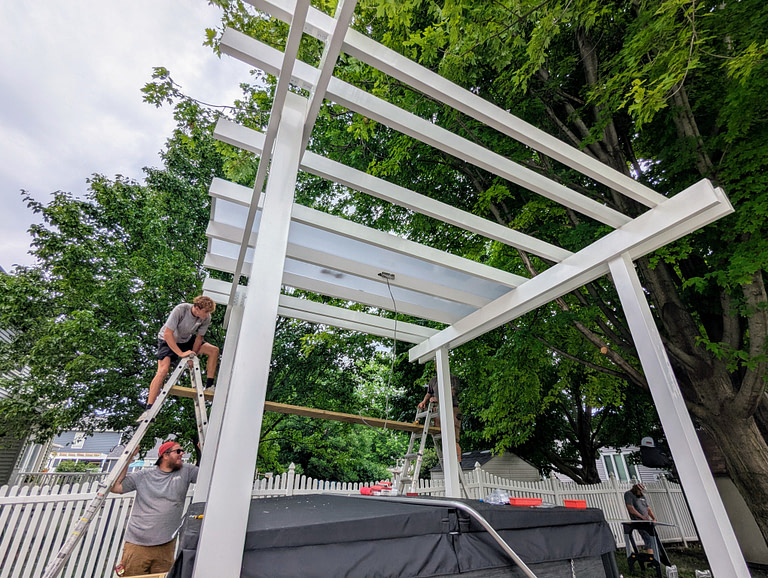
Our kits are engineered for ease of installation. With simple-to-follow directions, aluminum-reinforced vinyl components, and customizable configurations, a skilled installer can complete the job efficiently and with precision. Ask your contractor if they’ve worked with pergola kits before—or show them our installation resources. They’ll quickly see how straightforward the process is.
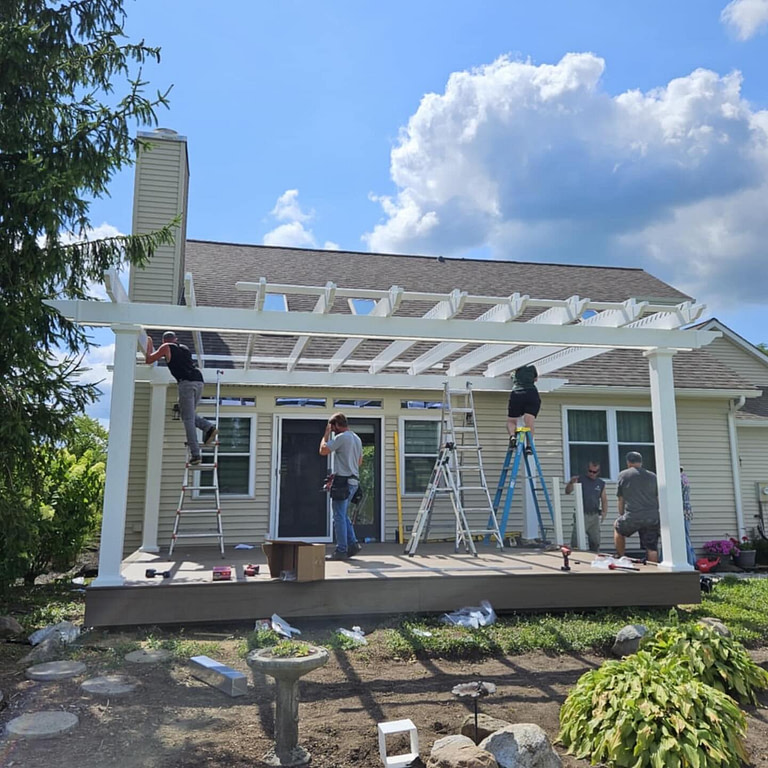
Your pergola will be a centerpiece of your outdoor space, so you want it done right the first time. Look for reviews from past clients and ask to see photos of completed projects. A reputable installer will be proud to showcase their work and provide references you can check with first.
An installer who communicates clearly and respects your vision is invaluable. Make sure you and your contractor are asking a lot of questions of each other when discussing the project so that everyone is aligned in their expectations. An installer can’t simply guess what your vision and goals are, they need to be articulated. And vice versa, they should be asking you questions about your needs and your goals for the end product. Communication is always one of the most important parts of your relationship with your installer.
And remember—you’re not alone in the process. Our team is always available for support, whether it’s answering your contractor’s technical questions or helping you decide on the best configuration for your space.
Our team can also help you find installers who have worked with Heartland Pergolas before. So if you are stuck in your search, feel free to ask our customer support team for possible options near you.
Homeowners often ask about pergola installation cost. While the numbers vary by region and contractor, here are a few factors that can affect your total:
Size and design of your pergola – larger, more intricate designs naturally require more labor.
Custom pergolas – if you’re adding unique features or adapting the layout to a specific space, costs may be higher.
Site preparation – leveling ground, concrete footings, or attaching to an existing structure can impact pricing.
DIY vs. professional installation – doing it yourself saves labor costs but requires more time and tools.
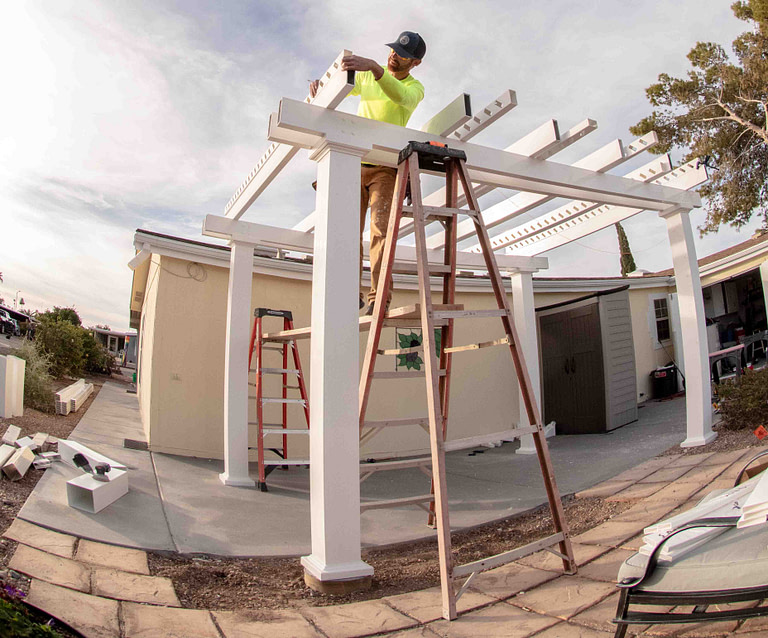
While many of our customers choose professional installation, we also know PLENTY of homeowners who enjoy taking on a project themselves. If you’re a confident DIYer, our user-friendly system is designed with you in mind. From straightforward assembly to adaptable designs, everything about our pergola kits is geared toward making your project a success—without frustration.

From 24/7 accessible videos and instructions to real human customer service. You can be sure you are not left hanging if questions arise.
Whether you’re searching for professional pergola installers or exploring DIY pergola installation, choosing the right approach is key. At Heartland Pergolas, we take pride in offering materials that are durable, customizable, and easy to install—backed by expert guidance every step of the way.
Your dream outdoor retreat is closer than you think. All it takes is the right pergola—and the right installer.
Videos showing our installation process, from beginning to end.
How the blueprints for our pergolas get made.
We have people available to talk to you within 24 hours during our business hours.
Over the years, it's common to find some questions that come up again and again. Scroll through the question and answer bank on the right, and if your questions aren't answered by the end, you can get in touch using the phone number below!
What questions can we assist you with? Call us at (563) 345-6745 or click the button below.
The dimensions of a Heartland Pergola refer to the width and depth of the pergola's roof. The pergola roof will include the beams and rafters, and on a traditional style pergola, will extend past the posts of your pergola.
For an example, a 14' x 14' pergola means that the overhead roof dimensions are 14' x 14'.
To figure out post spacing you will want to look at the specific CAD drawing for the pergola size you are looking for. Noting that a typical traditional style pergola will be built with the posts inset one foot from the end of your beams. Modern pergolas will NOT have an overhang.
Tip while planning - if your patio space is 14' x 14', most homeowners will opt to go a size larger on a Traditional Style Pergola so that the overhang of the pergola roof extends past the edge of your patio, rather than stopping even with it. A 14' x 14' patio would benefit from installing a 16' x 16' pergola (or greater) for optimum sun coverage.
We have the best of both worlds!
Aluminum base structure for extreme durability and strength paired with a vinyl exterior that makes your pergola maintenance super easy!
Many vinyl pergolas on the market are going to have no reinforcement or internal reinforcement by wood. Over time, that wood will rot, warp and sag. The aluminum inserts of Heartland Pergolas ensure that is never an issue for your pergola. It's a solid structure, easy to maintain and will last you for decades! We are so confidant in that fact that we offer a Lifetime Warranty.
You can purchase any of our pergola kits or eyebrow pergolas online through our website or order by calling in (563-345-6745) and talking to our sales team. If you are ordering a pergola with customizations outside of our pergola design tool, custom sizes or configurations, you will want to purchase by speaking with our team over the phone/email.
Upon ordering, either via our website or through our sales staff you will receive a docusign document emailed to you detailing all your options and pergola specs to sign off on before we send your pergola to fabrication.
Due to the custom nature of our product, we cannot accept returns. All pergola kits are made to order specifically for your space and requirements. We recommend you work directly with our team to discuss all potential site, climate, and installation requirements before you make your purchase to ensure that you get exactly the materials that you need.
We want you to be happy with your purchase, if there is a problem just reach out and we will work with you to make it right.
It doesn’t happen often but if you do find something missing or damaged, we will replace it immediately.
For all orders in the continental US, shipping is already included!
If you live outside of the continental US and would like a quote on shipping, please contact Elizabeth for a shipping quote!
Each kit will come with the corresponding instruction manual for that pergola. It will list step-by-step how to install, what tools are needed and show diagrams for the installation. You will also get your related CAD drawing for your pergola as well.
You are welcome to download the digital version of our instruction manuals ahead of time if you want to take a look at the process first!
We also have installation videos available 24/7 playable from YouTube Play List. Our Video Installation series will break down each step into a short video so you can see exactly how each step is completed.
VINYL AND ALUMINUM STRUCTURES LIMITED WARRANTY
Subject to the conditions and limitations listed herein, Heartland Pergolas warrants its vinyl structures to be free from defective workmanship and materials and, when subject to normal and proper use, against surface peeling, rot, structural damage from termites, splitting, flaking, rusting, and blistering, abnormal weathering or abnormal discoloration.
We have many customers who go the DIY route to install their pergola! If you have some basic building experience and knowledge with some simple tools, you can build a pergola.
We provide you with written installation instructions, video tutorials online, and the best customer service you can get!
You can watch our videos ahead of time to see if you feel comfortable working with the tools and materials needed to build your pergola. Our Installation Videos are divided up into short step-by-step clips that are to the point and show you exactly how each part is completed.
General guidelines for DIYers:
Website made by Aelieve Digital Marketing