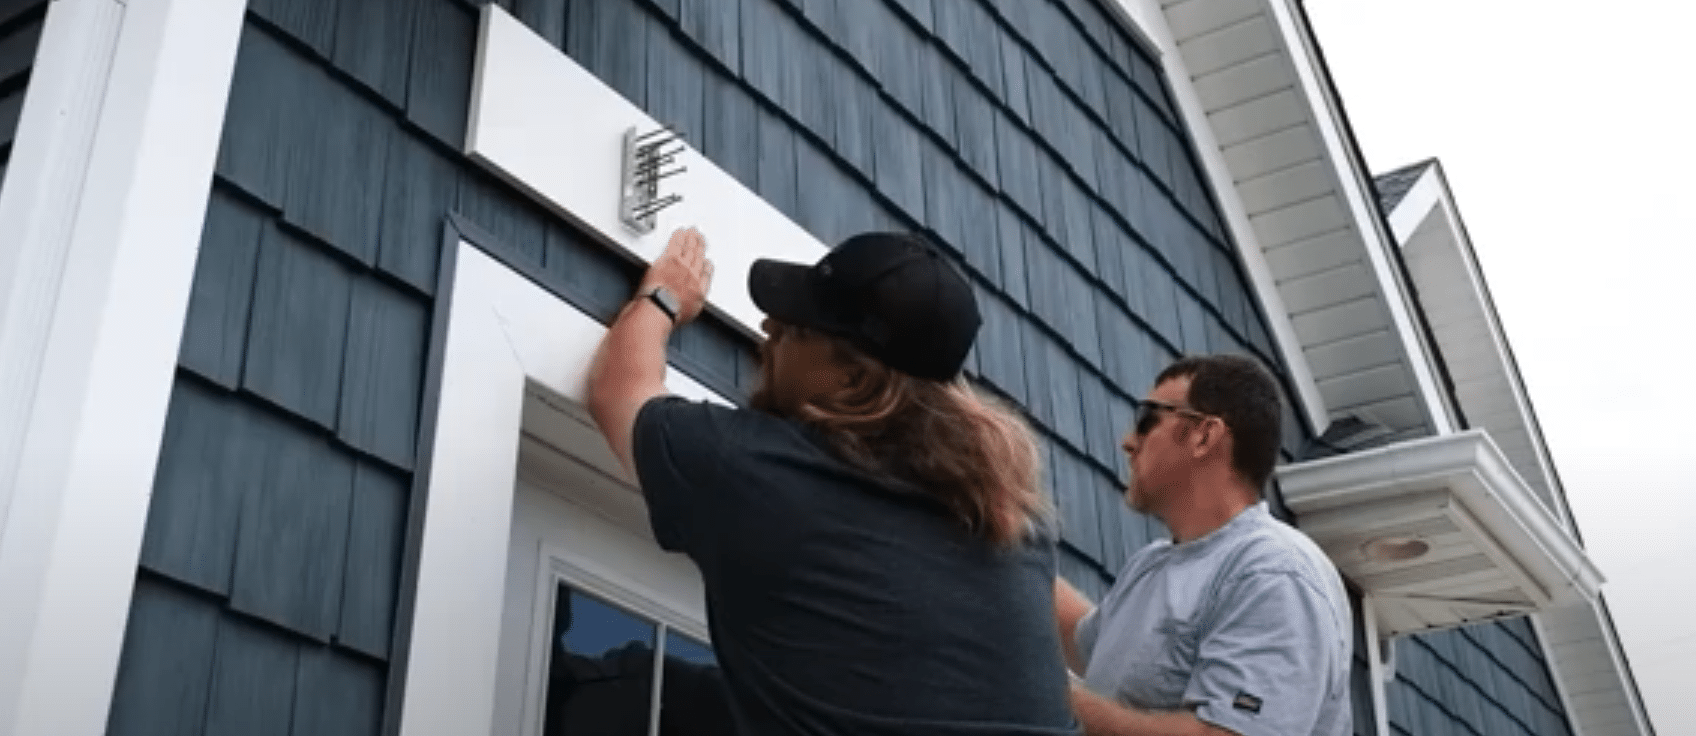
Installation Videos

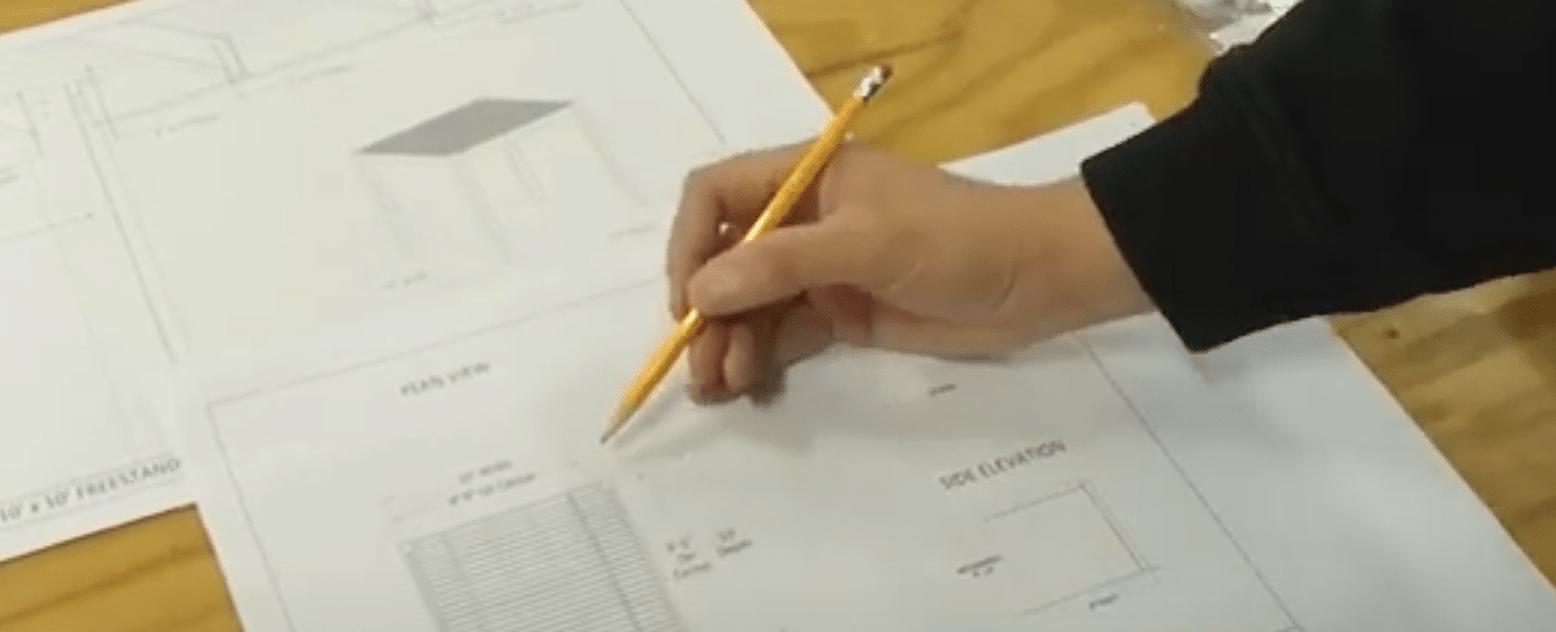
step2b
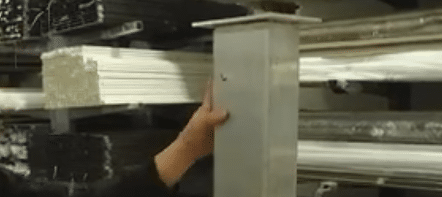
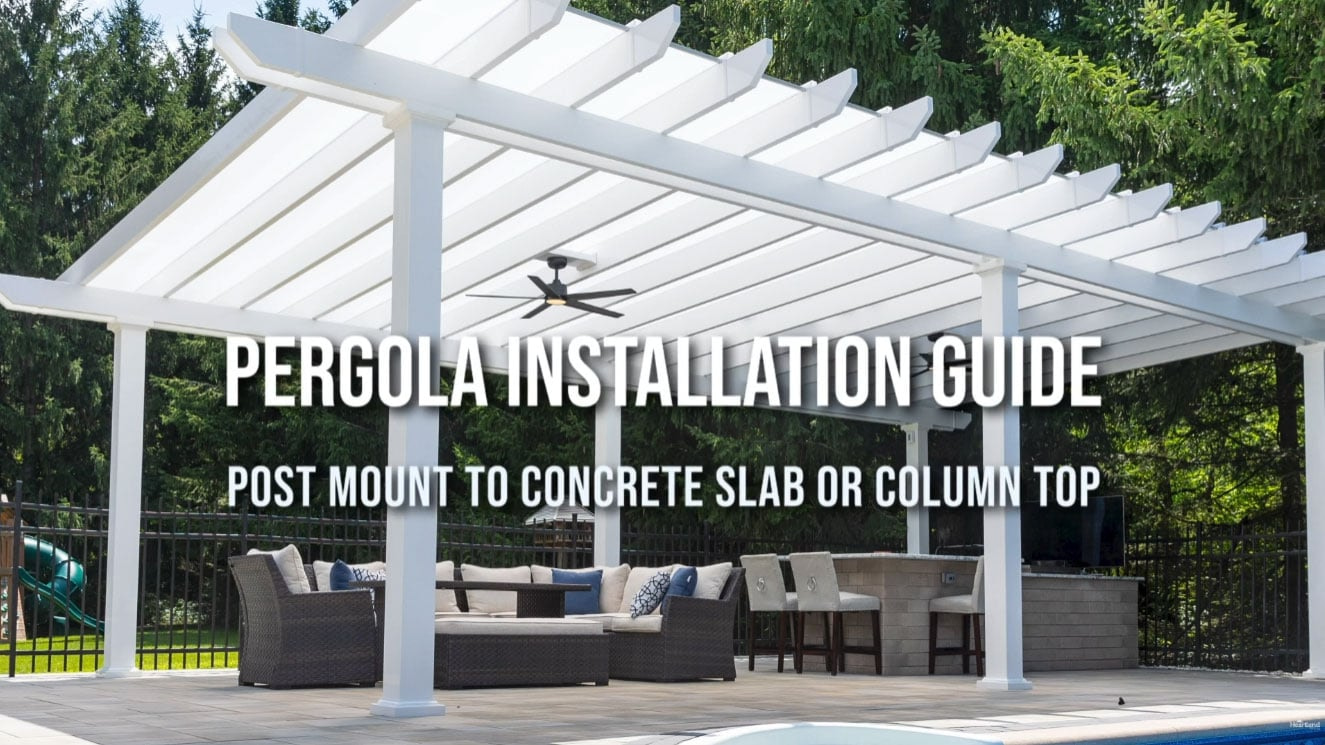
Step 2b – Post Mount to Concrete Slab or Column Top
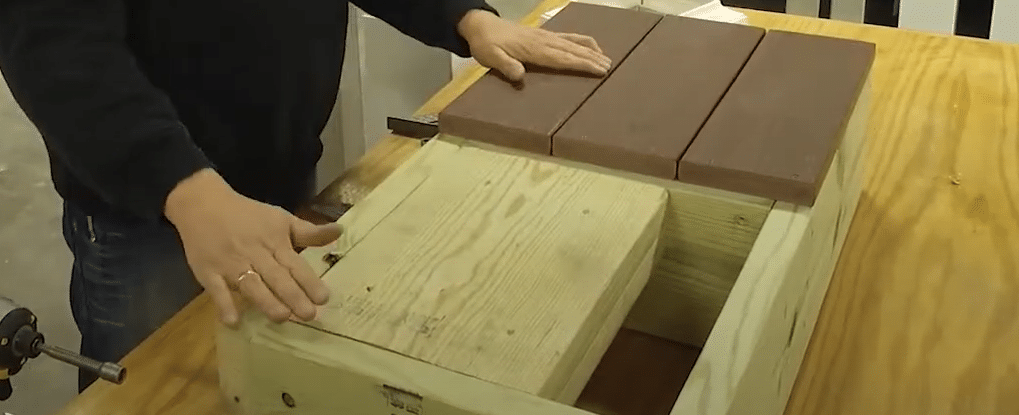
step2c
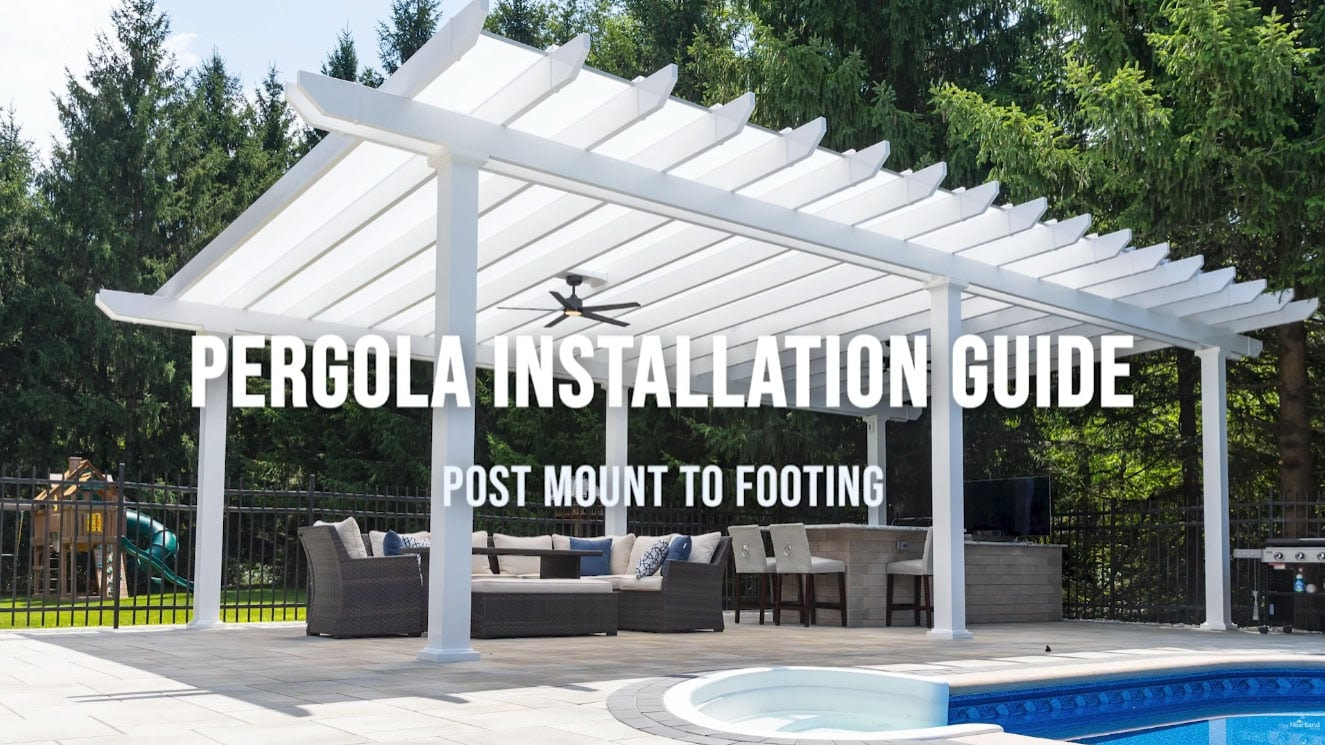
Step 2c – Install Post Mount to Concrete Footing
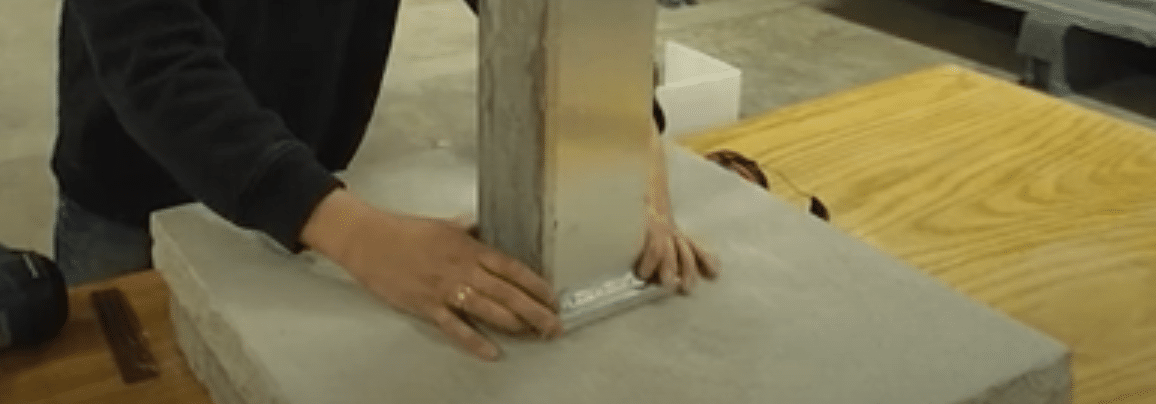
step5b
Step 5 – Install Beams With Beam Attachment Brackets
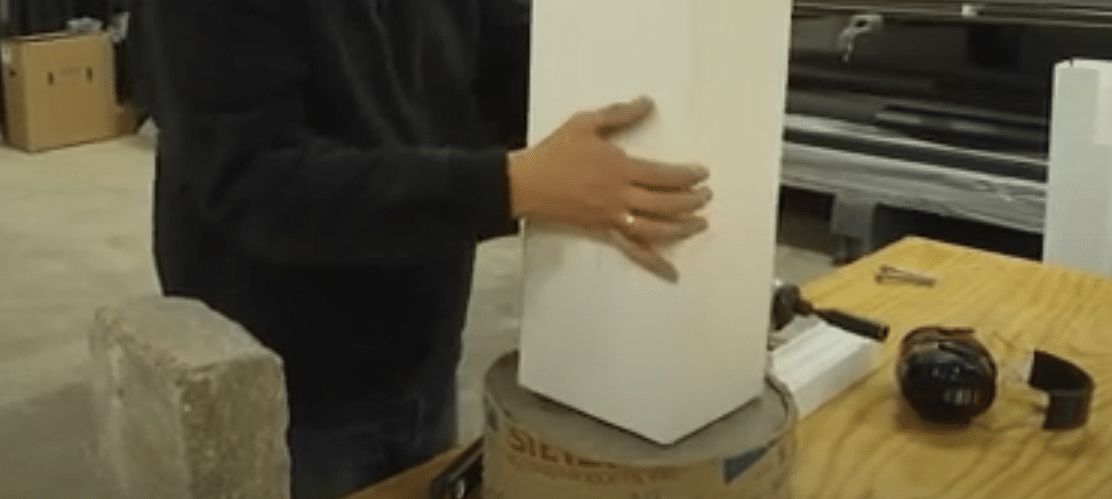
Screenshot 2025-03-03 at 12.54.35PM
Modern Pergola Step 2B – Post Mount to Concrete Slab or Landscape Column Top
Screenshot 2025-03-03 at 12.56.30PM
Modern Pergola Step 2C – Post Mount to Concrete Footing
Screenshot 2025-03-03 at 1.18.14PM
Modern Pergola Step 3 – Install Posts Over Post Mount
Screenshot 2025-03-03 at 1.20.27PM
Modern Pergola Step 4 – Attach Ledger to Structure
Screenshot 2025-03-03 at 1.30.26PM
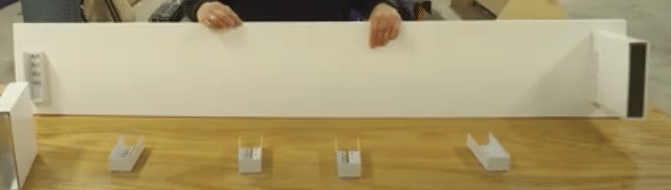
Modern Pergola Step 5 – Install Perimeter Box Beams
Screenshot 2025-03-03 at 1.33.06PM
Modern Pergola Step 7 – Install Purlin Holders

ATTACHED  Elements - rain proof installation videos

att 2
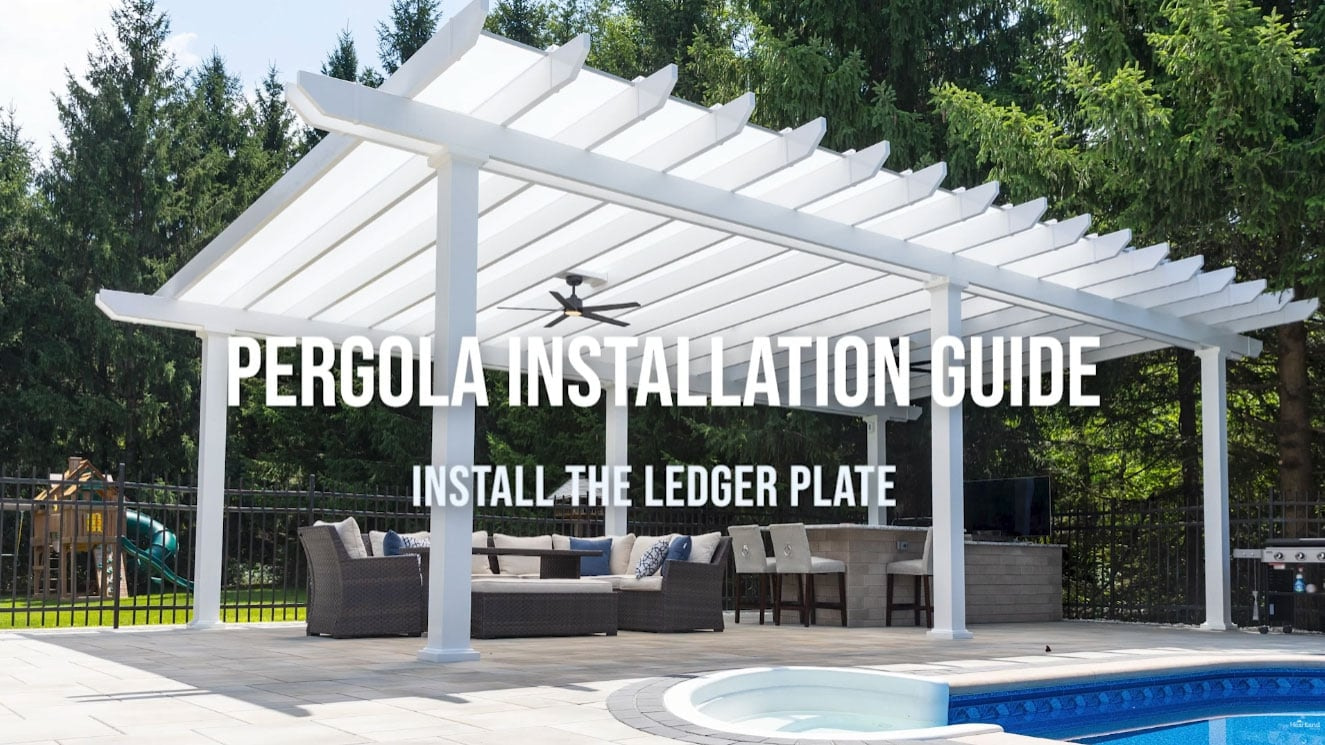
Step 2: Install the Ledger Plate | Elements Attached Installation
att 4a
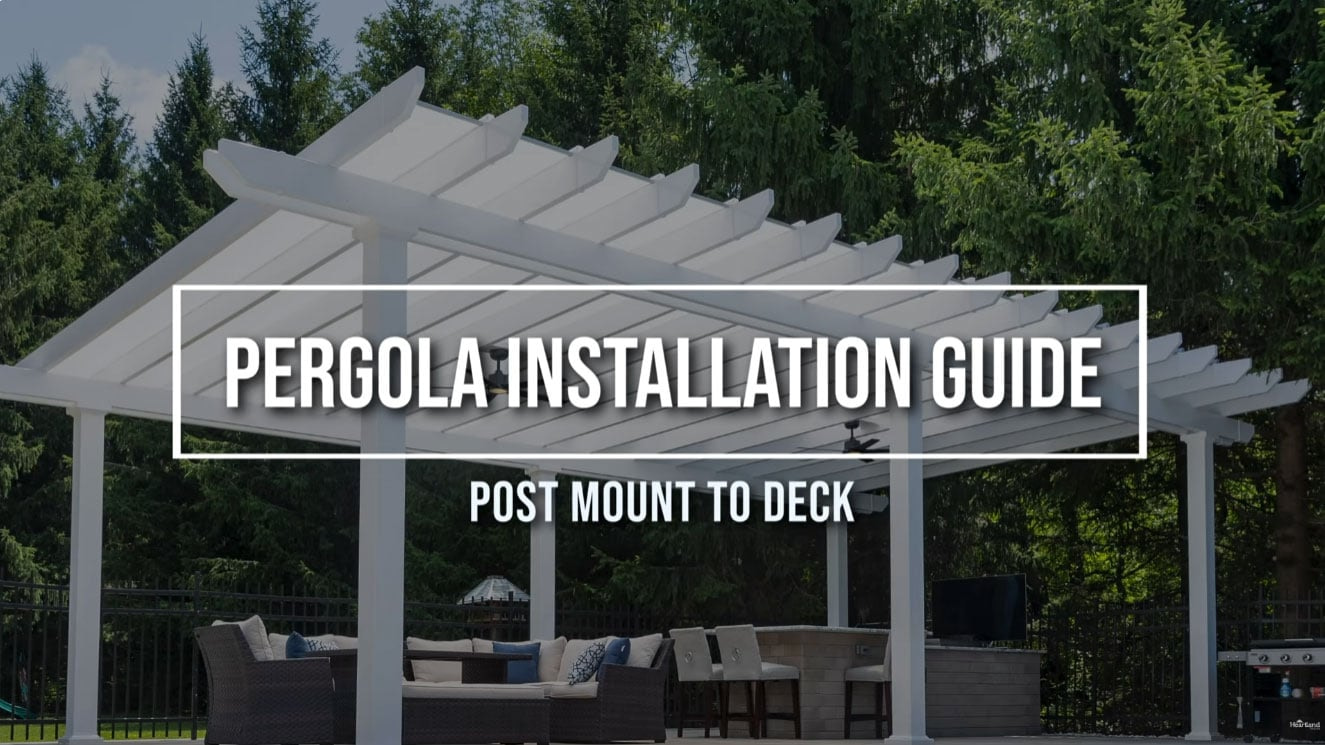
Step 4A: Post Mount to Deck | Elements Attached Installation
free 4b
Step 4B: Post Mount to Slab or Column Top | Elements Attached Installation
att 4c
Step 4C: Post Mount to Footing | Elements Attached Installation
att 5
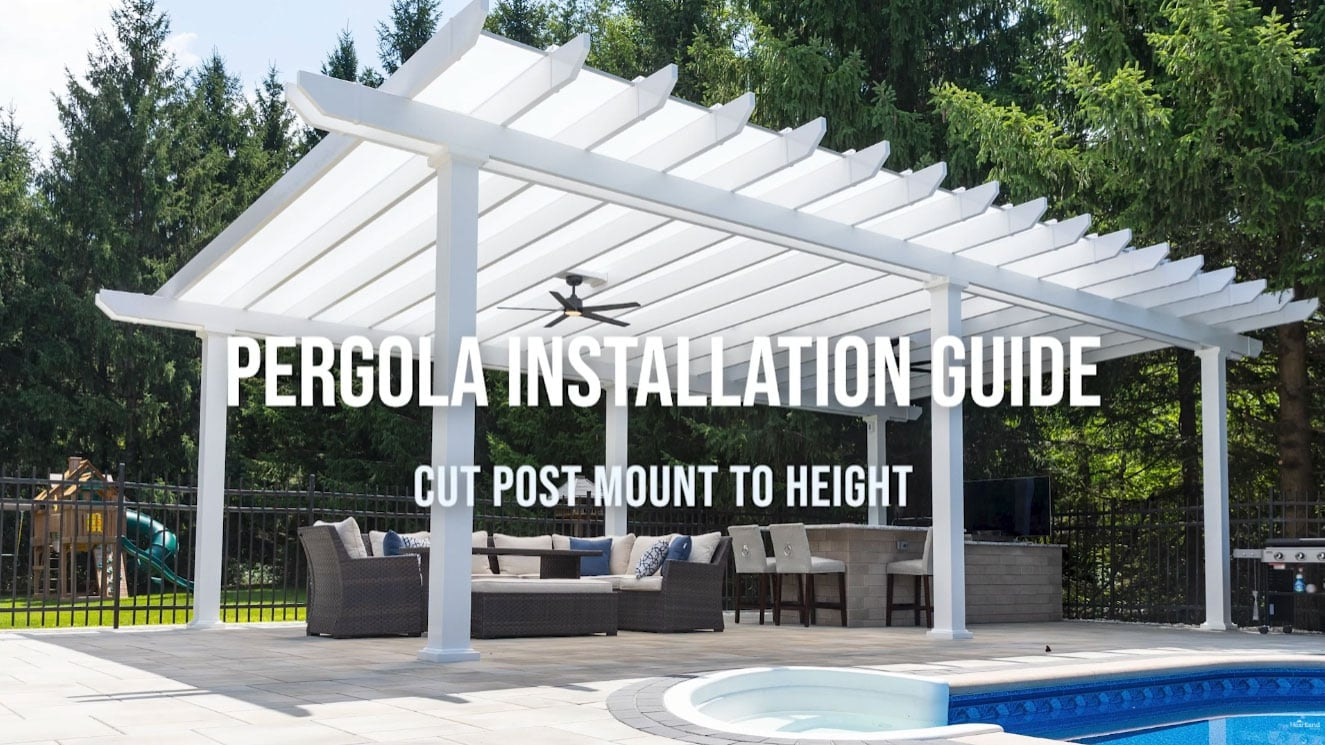
Step 5: Cut Post Mount To Height | Elements Attached Installation Guide
free 5
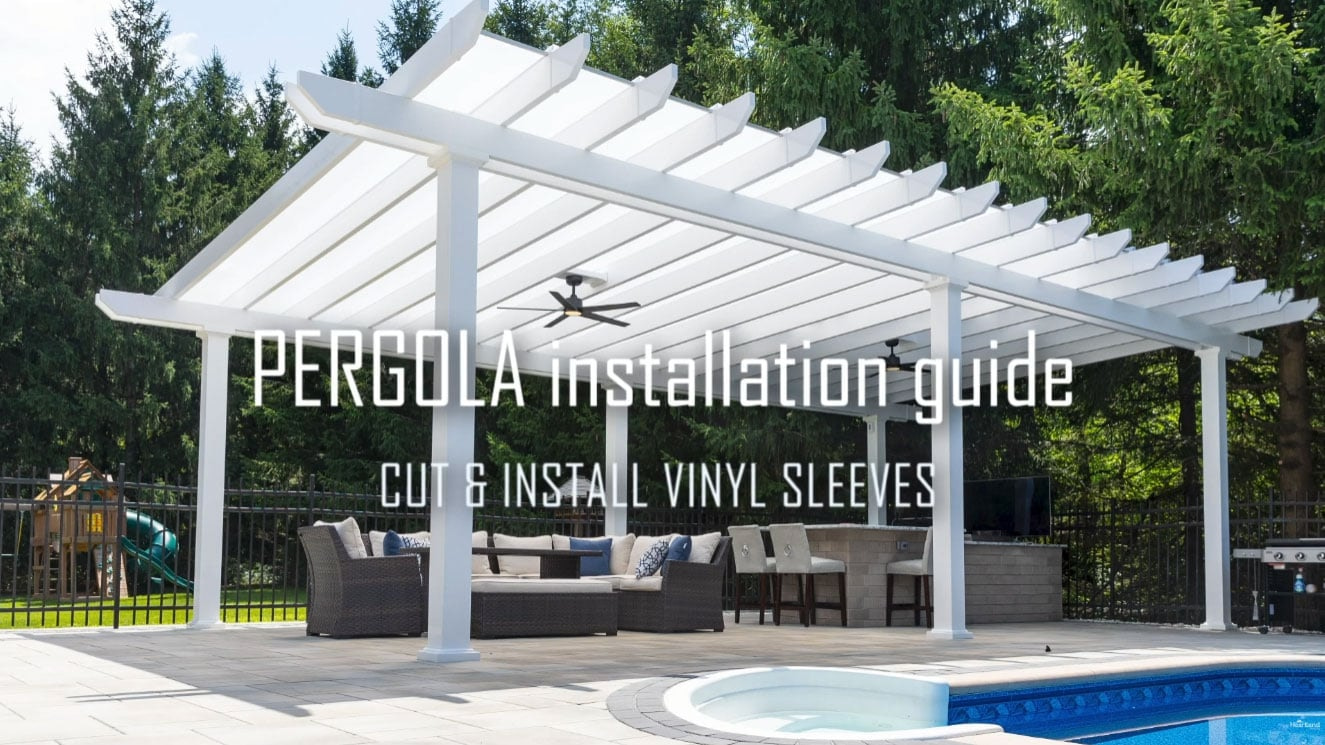
Step 6: Cut & Install Vinyl Post Sleeves | Elements Attached Installation
free 6a
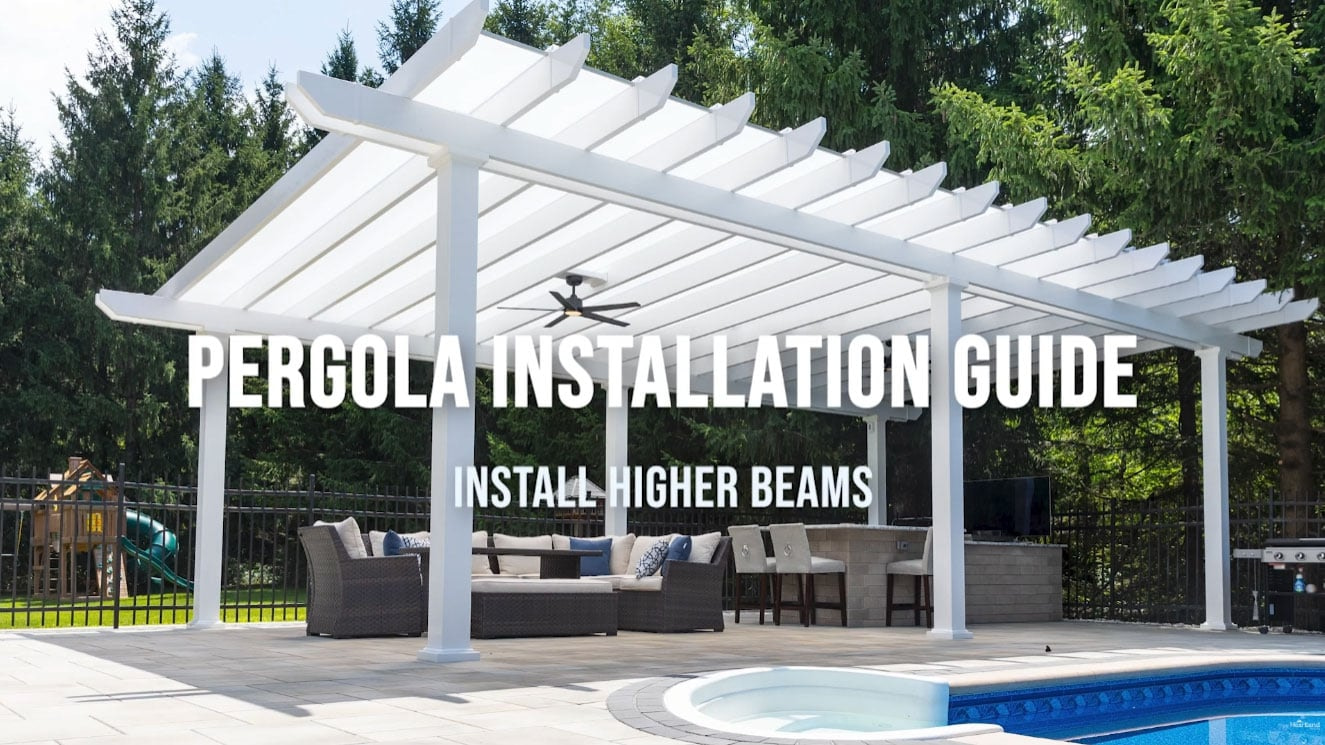
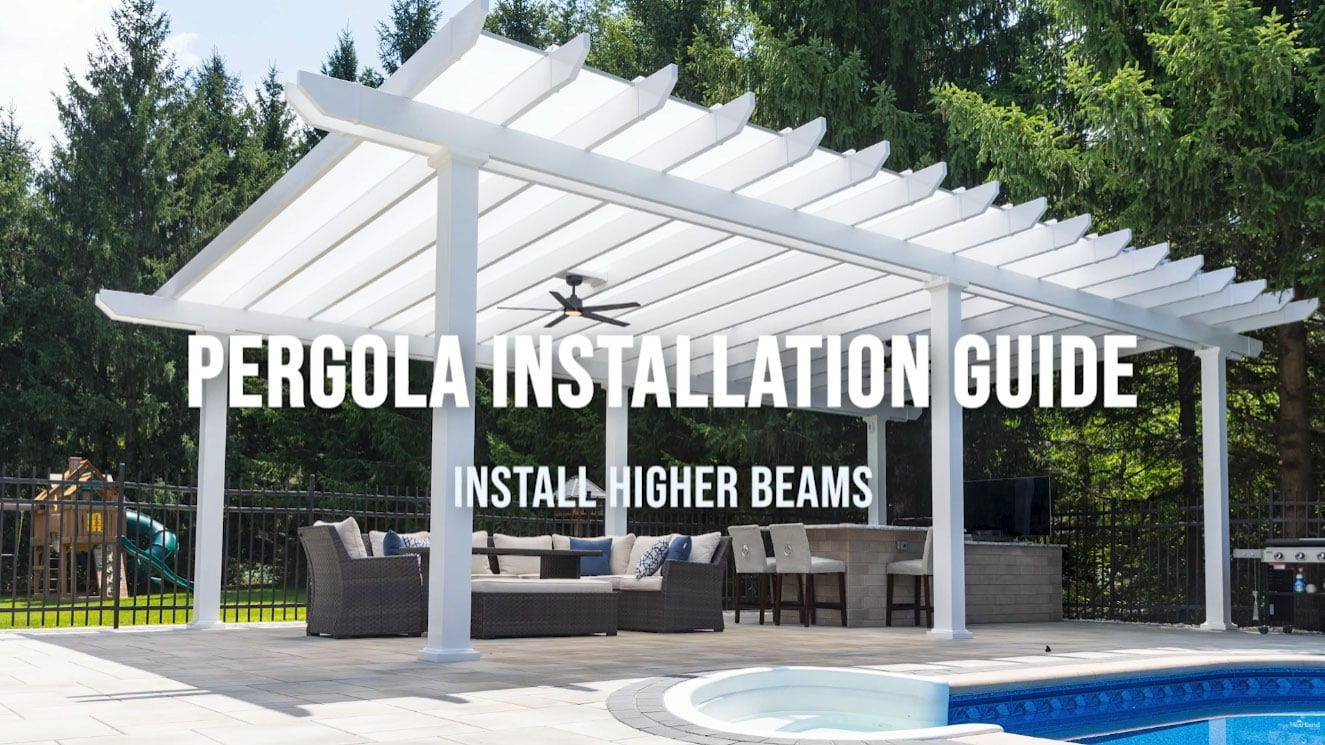
Step 7: Install Higher Beams TRADITIONAL METHOD | Elements Attached Installation
att 7beam
Step 7: Install Higher Beams BEAM ATTACHMENT BRACKET METHOD | Elements Attached Installation
att 8
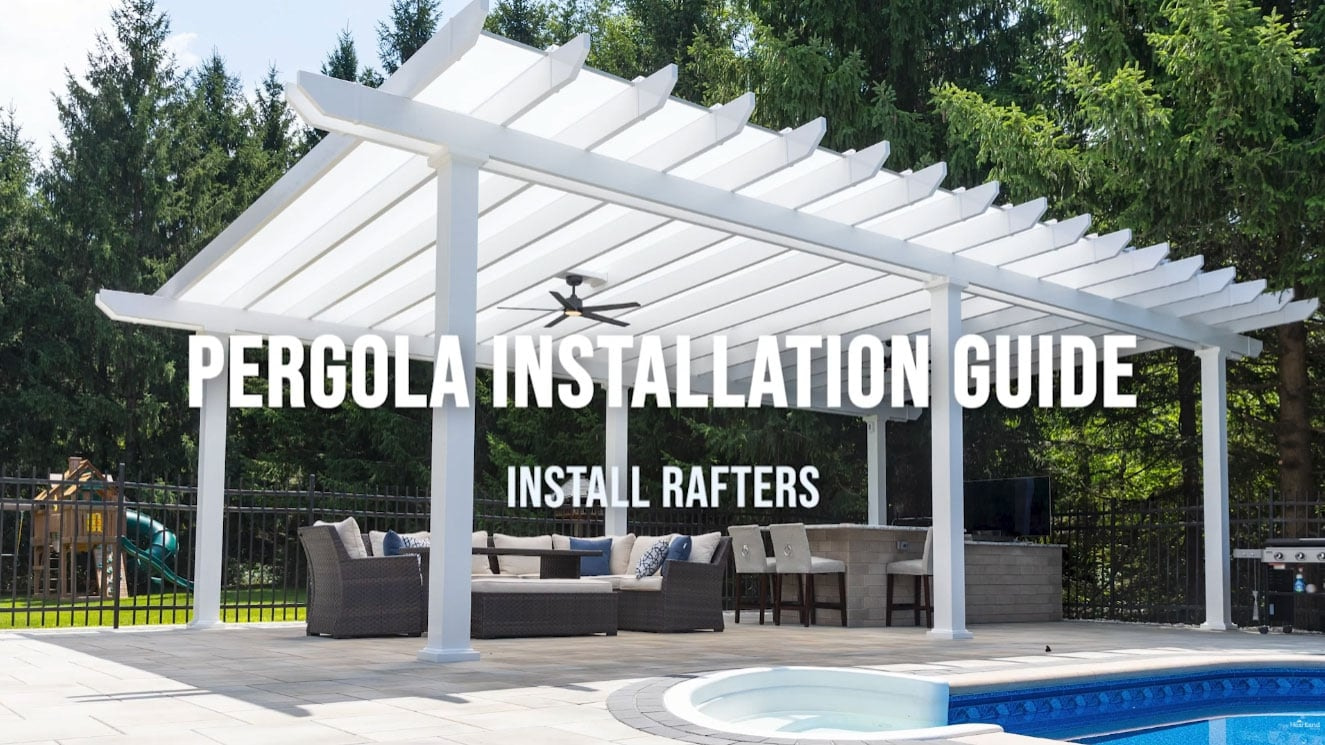
Step 8: Install Rafters | Elements Attached Installation
att 9a
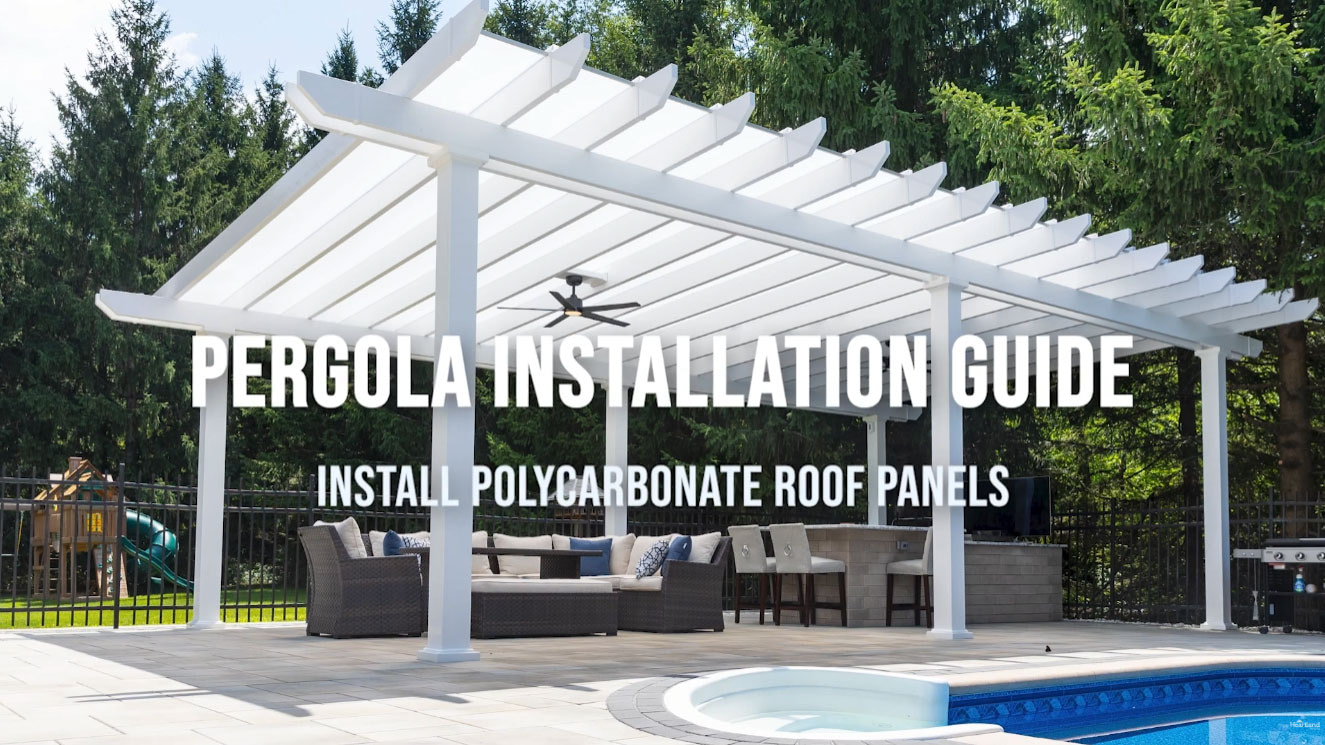
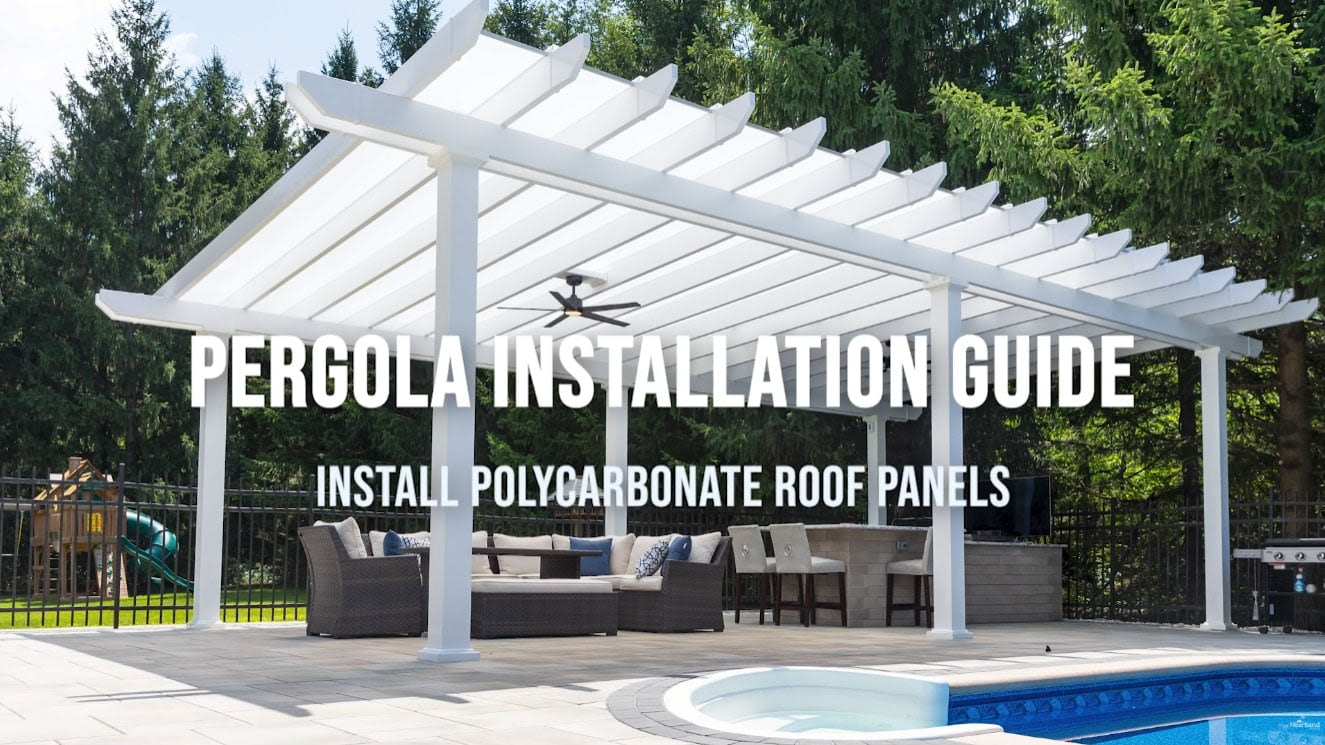
Step 9 – Part I – Install INSIDE Roof Panels – Elements Attached Installation
att 9b
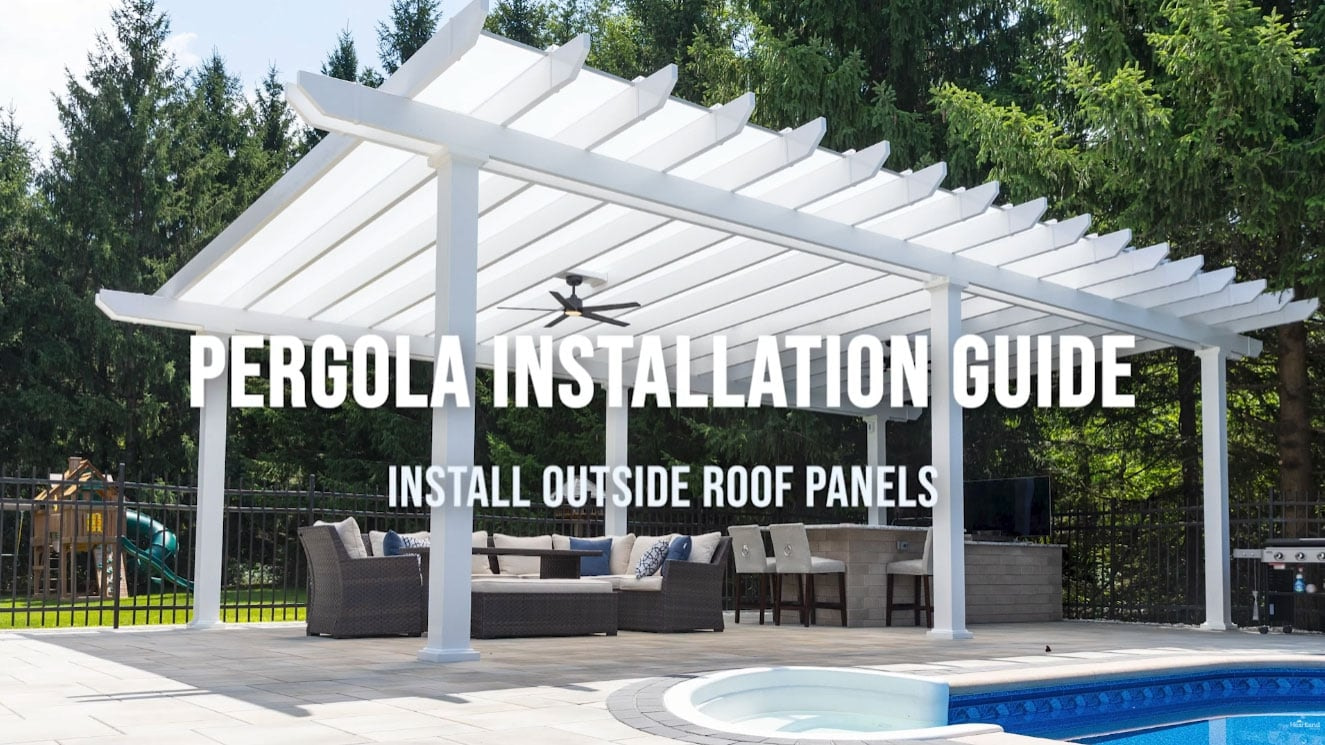
Step 9 – Part II – Install OUTSIDE Roof Panels | Elements Attached Installation

FREESTANDING Elements - rain proof installation videos

Step 3A: Post Mount to Deck | Elements Freestanding Installation
free 4a
Step 3A: Post Mount to Deck | Elements Freestanding Installation
free 4b
Step 3B: Post Mount to Slab or Column Top | Elements Freestanding Installation
free 4c
Step 3C: Post Mount to Footing | Elements Freestanding Installation
att 5
Step 4: Cut Post Mount to Height | Elements Freestanding Installation Guide
free 5
Step 5: Cut Install Vinyl Post Sleeves | Elements Freestanding Installation
free 6a
Step 6: Install Outside Beams TRADITIONAL METHOD | Elements Freestanding Installation
Step 6: Install Outside Beams BEAM ATTACHMENT BRACKET METHOD | Elements Installation Guide
Elements Freestanding Video Step 7
Step 7: Install Rafters | Elements Freestanding Installation Guide
Step 8 – Part I – Install INSIDE Roof Panels | Elements Freestanding Installation
Elements Freestanding Video Step 8b
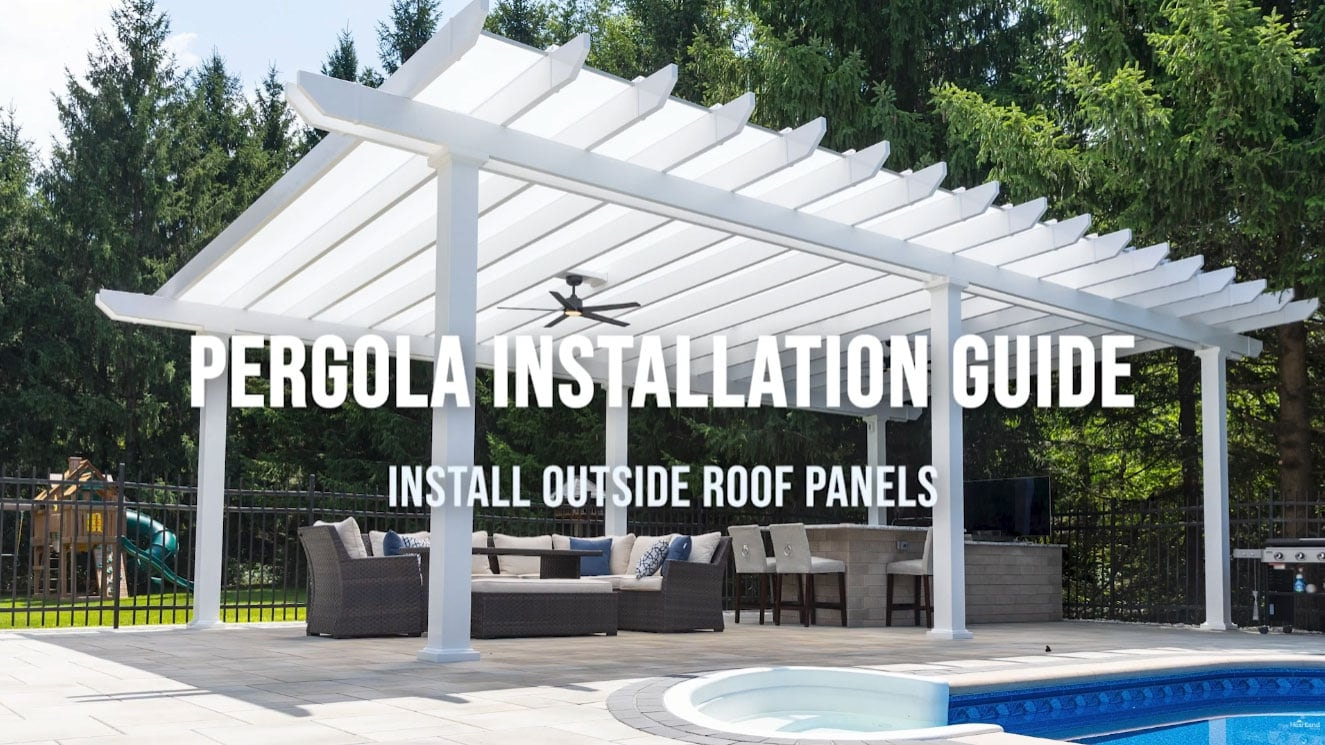
Step 8 – Part II – Install OUTSIDE Roof Panels | Elements Freestanding Installation

Material Cutting - Elements - rain proof installation videos

Elements Cutting Materials Video 1
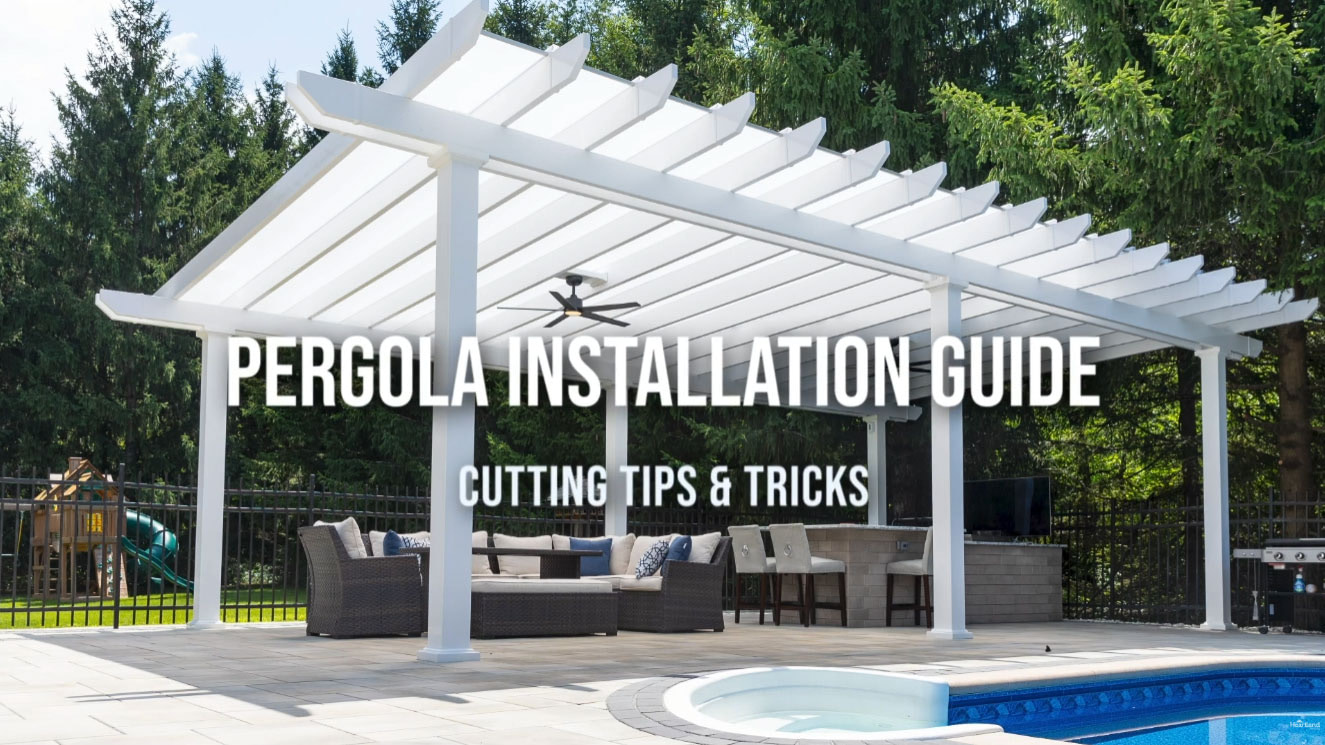
Video 01: Intro to Cutting – Elements Pergola Installation
Elements Cutting Materials Video 2
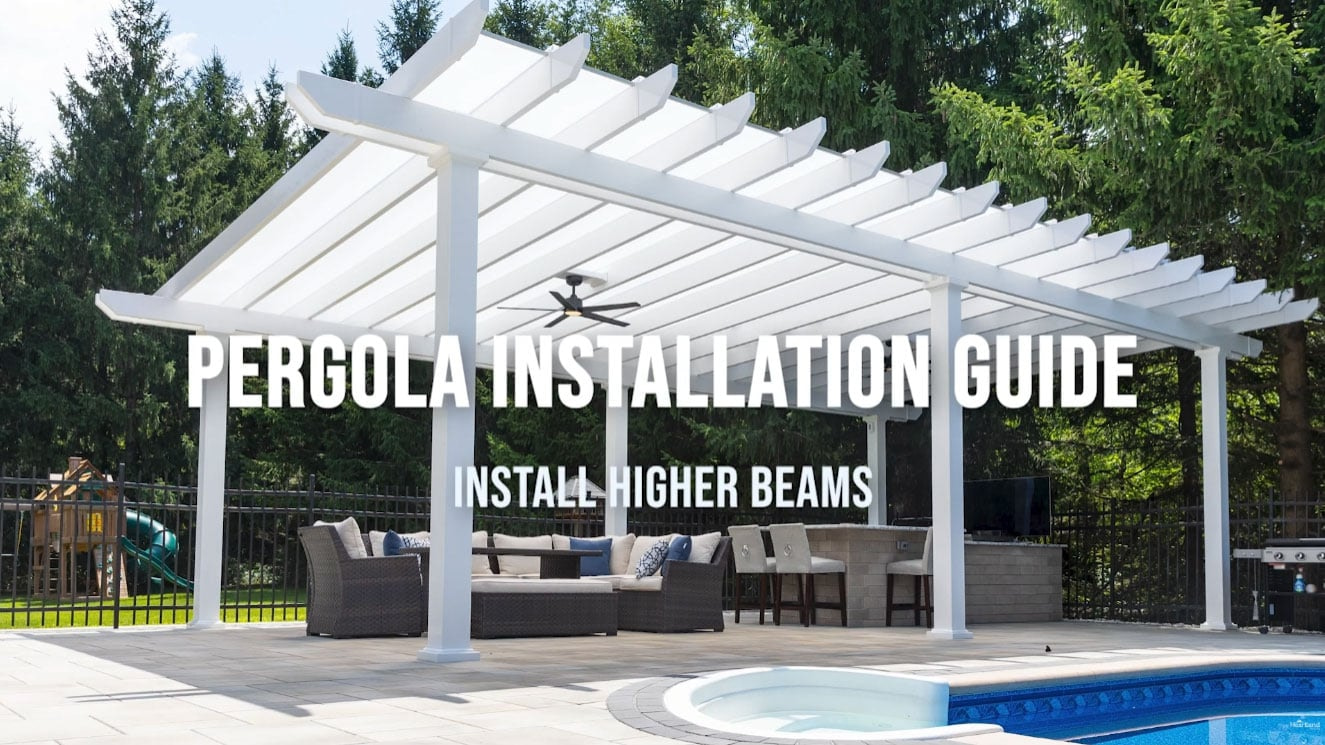
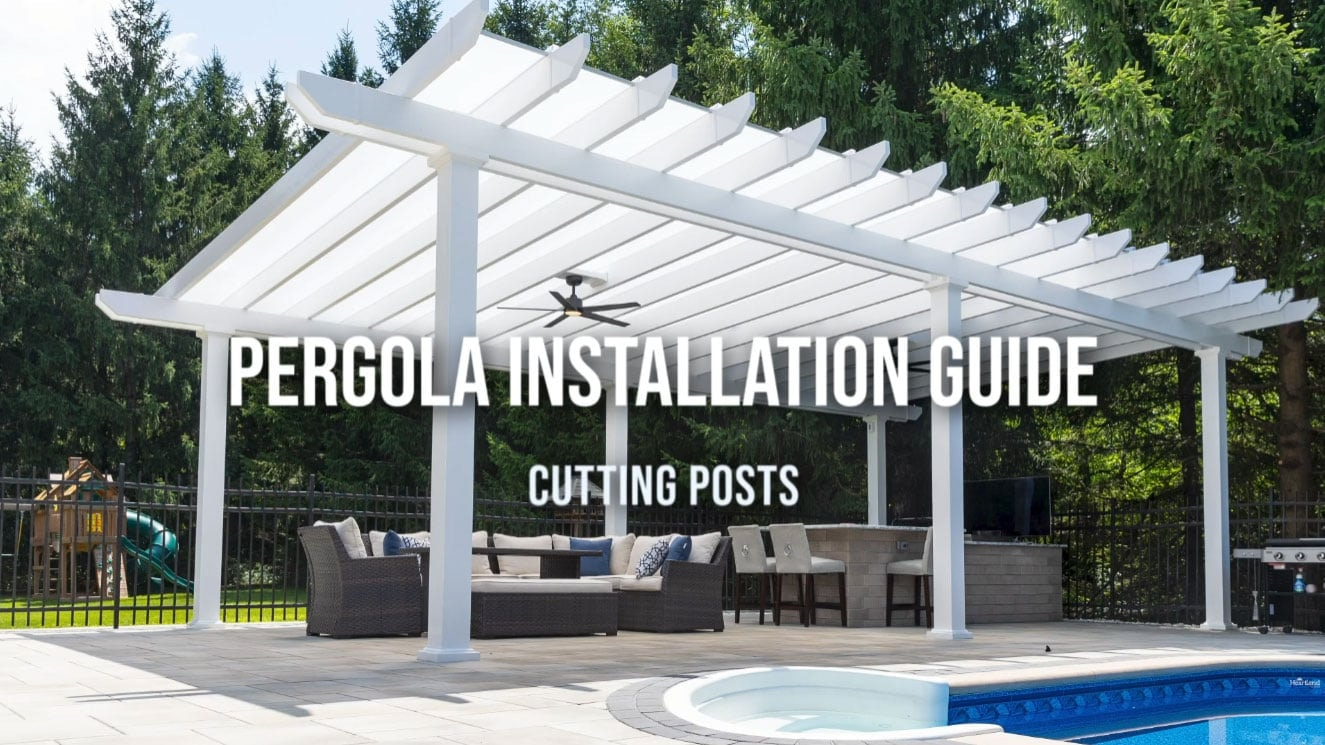
Video 02: Cutting Your Posts – Elements Pergola Installation
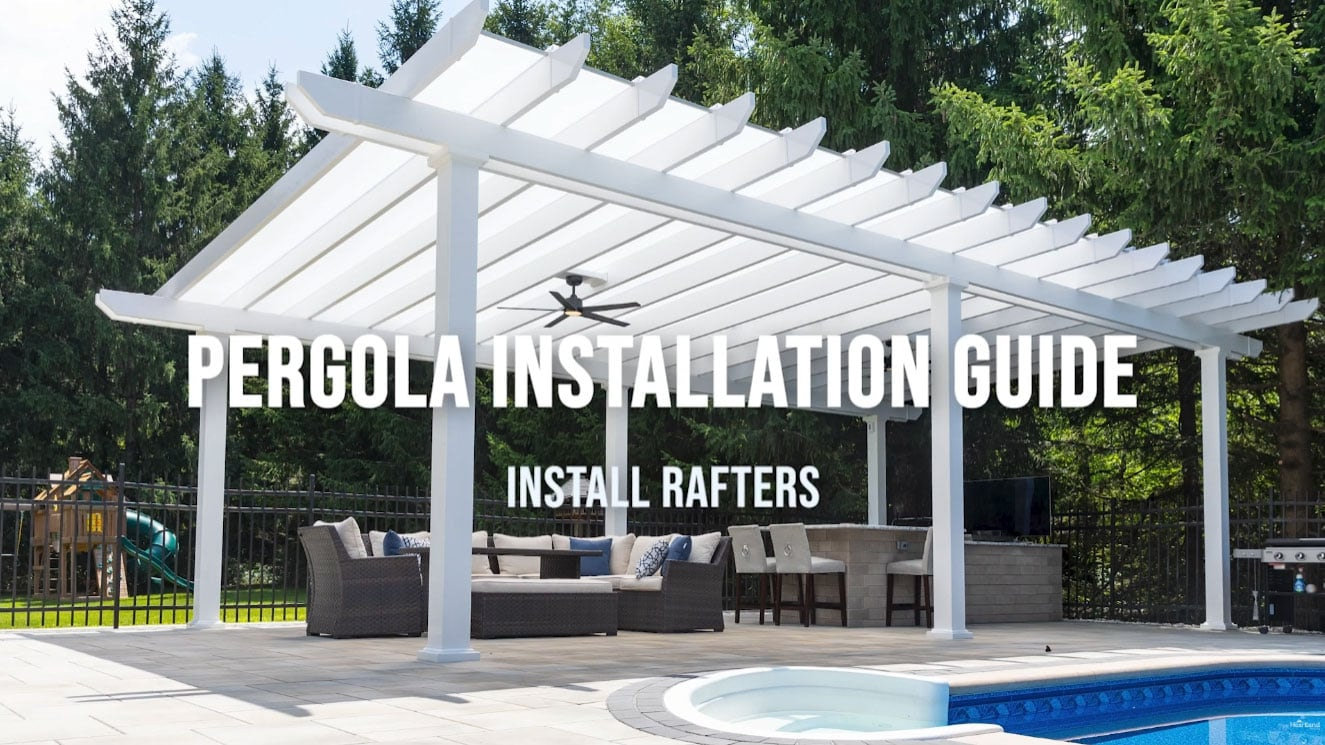
Elements Cutting Materials Video 3
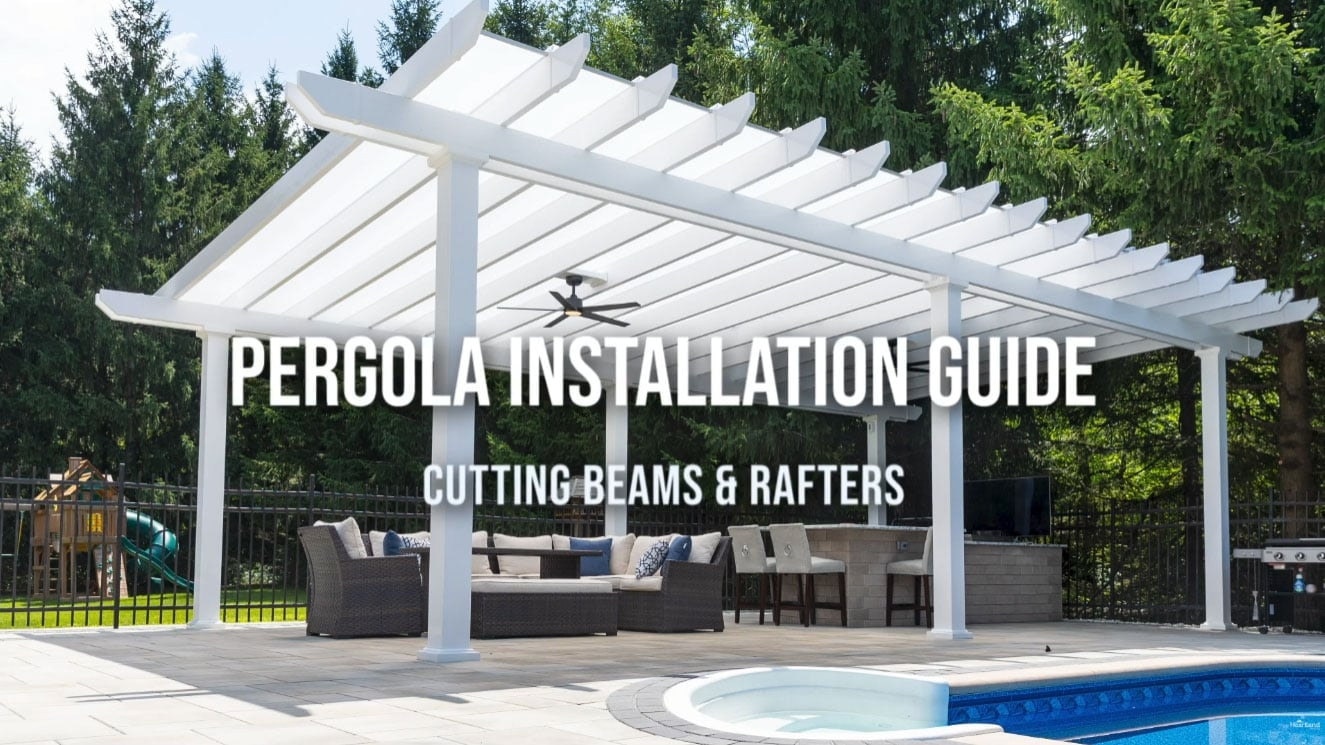
Video 03: Cutting Your Beams & Rafters – Elements Pergola Installation
Elements Cutting Materials Video 4
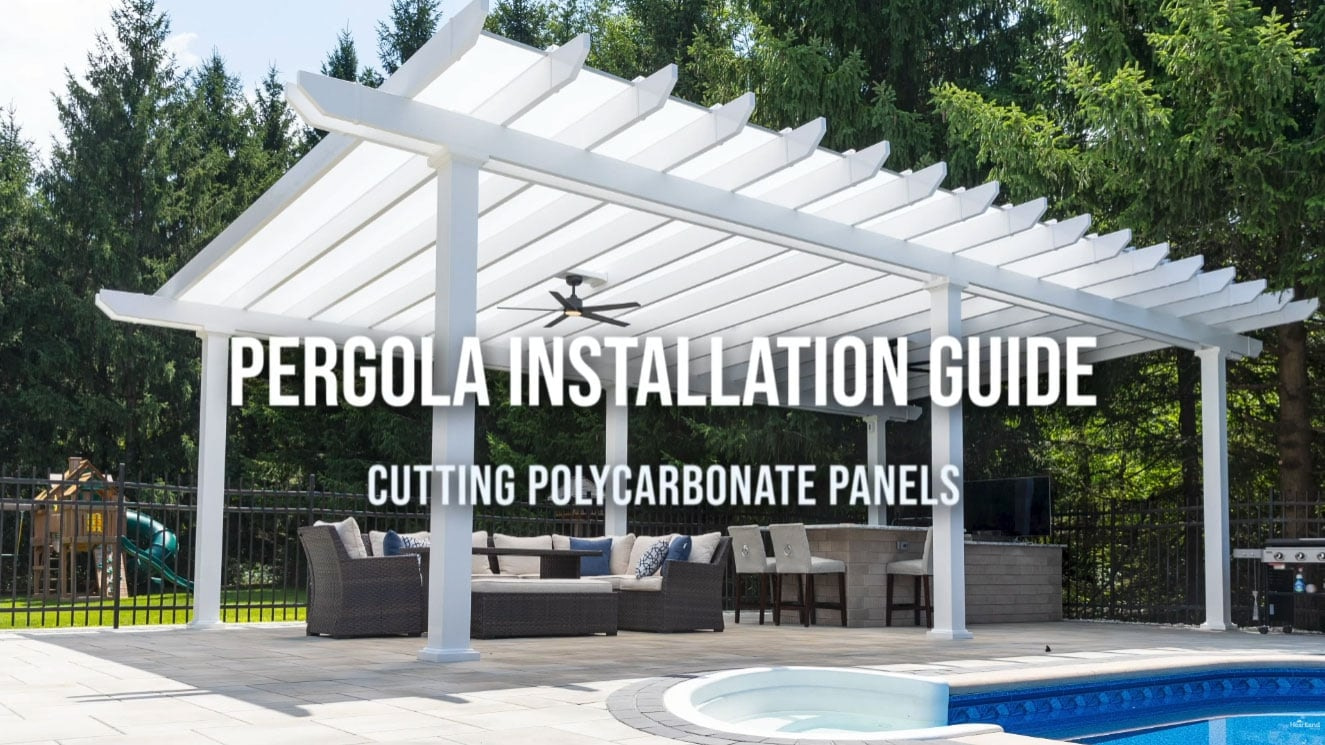
Video 04: Cutting Your Polycarbonate Roof Panels – Elements Pergola Installation
Elements Cutting Materials Video 5
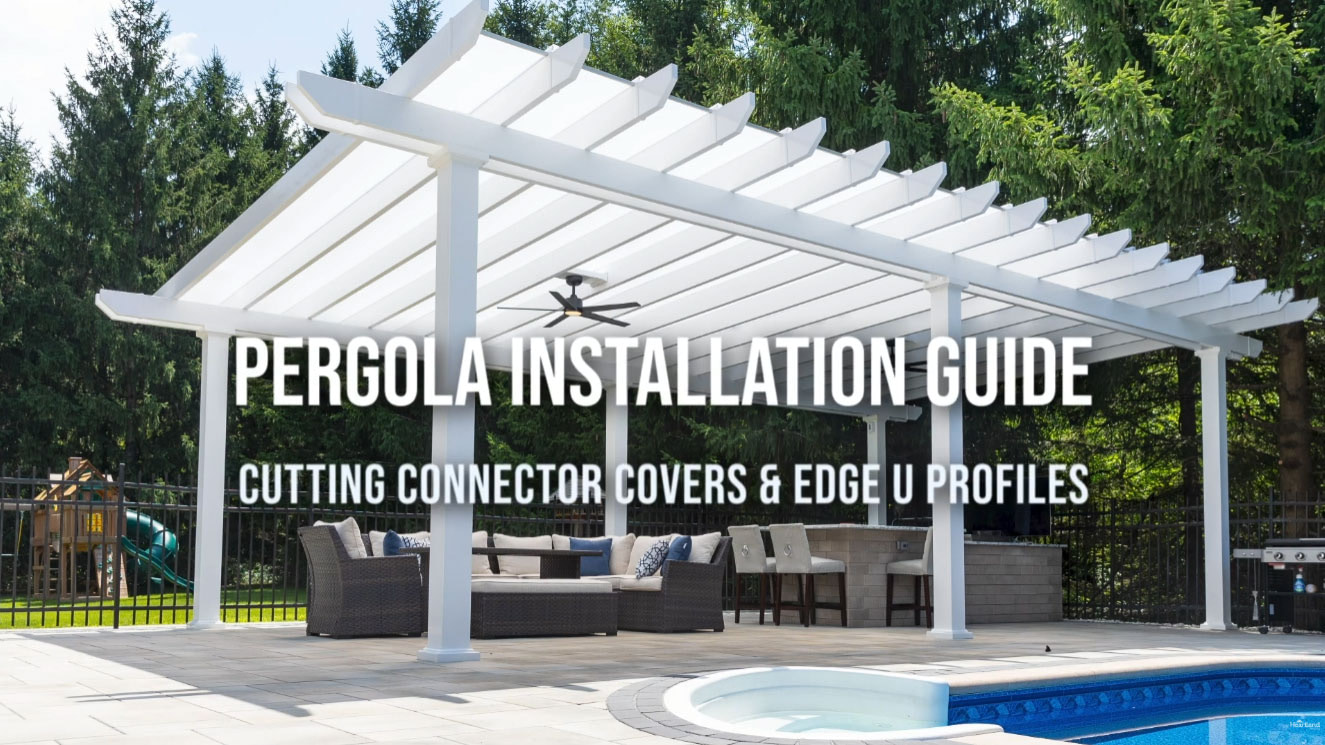
Video 05: Cutting your Connectors & Edge U Profiles – Elements Pergola Installation
Elements Cutting Materials Video 6
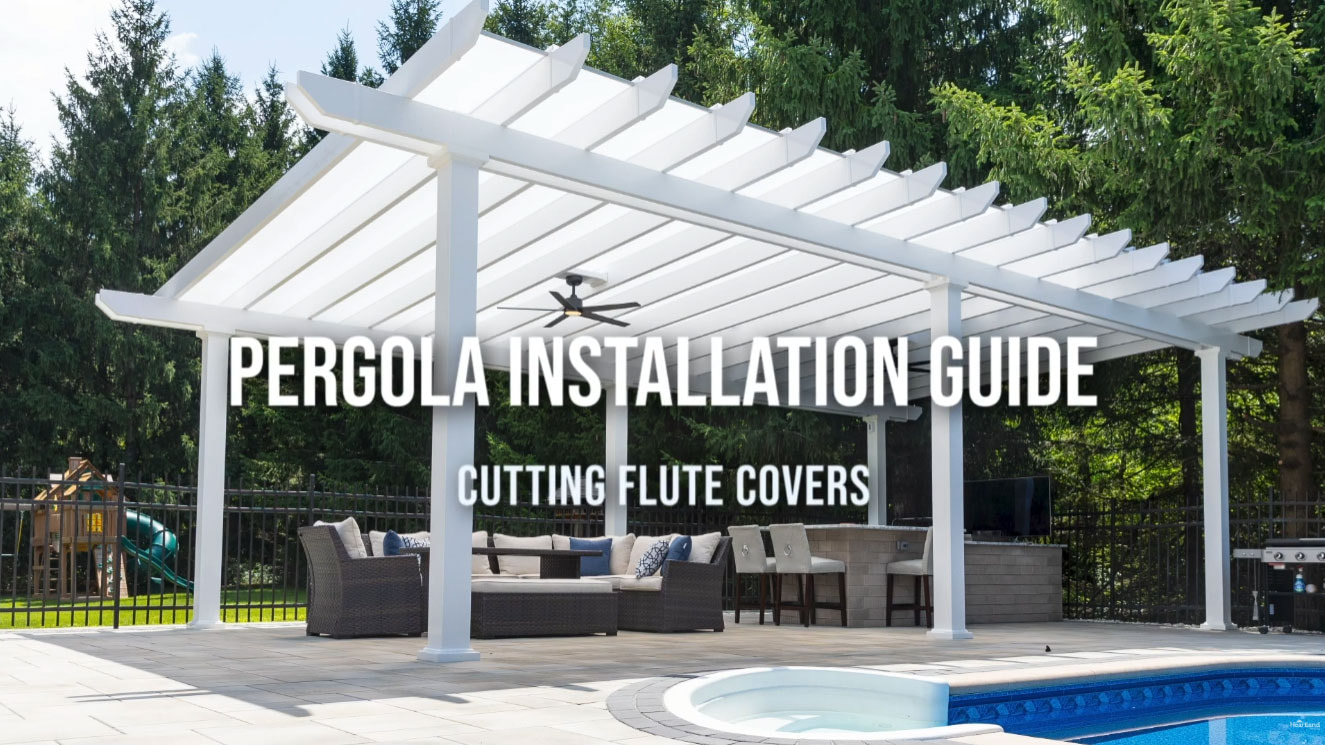
Video 06: Cutting Flute Covers – Elements Pergola Instructions
2026 © Heartland Pergolas. All rights reserved.

Website made by Aelieve Digital Marketing